
Processes
Folding cartons: bottoms, closures and how to choose
by Giovanni Pietropaolo
The folding carton accompanies many everyday products: cosmetics, pharmaceuticals, food and small accessories. It is usually made from a single sheet of cartonboard, cut and creased — that is, scored along the fold lines. It can be supplied flat, with some parts already glued, to be formed and filled during packing.
Behind an apparently simple shape are choices that affect assembly, protection of the contents and ease of use. The bottom and the top closure are two distinct aspects: a carton may have, for example, a crash-lock bottom and a tuck-end opening. To choose the structure, then, it helps to look at how each part of the pack works.
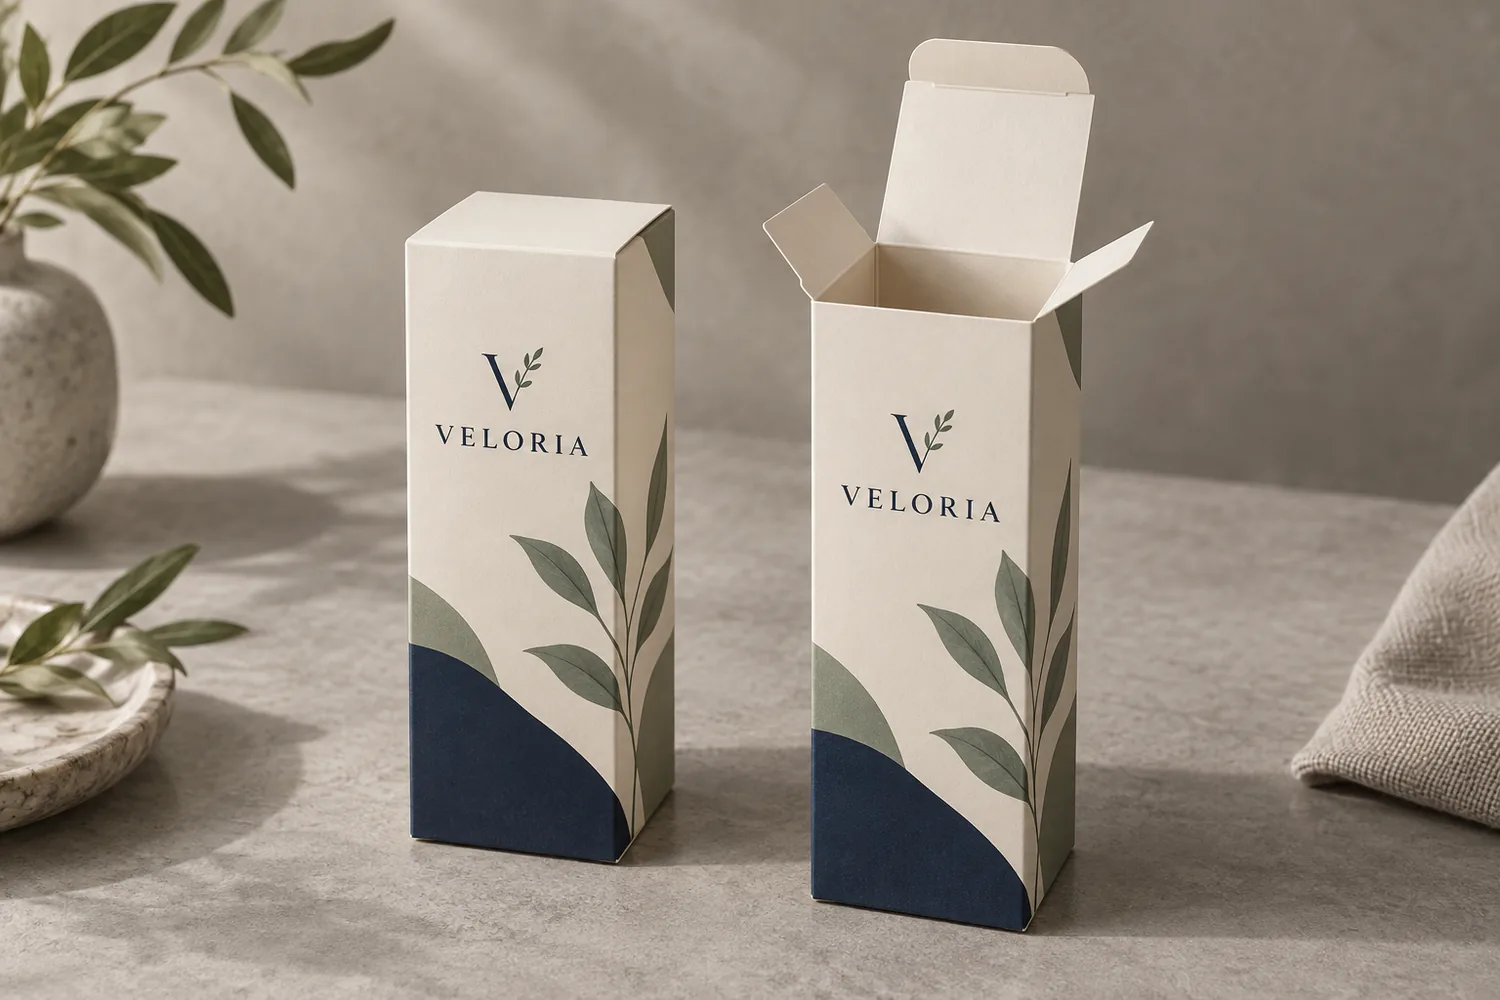
Tuck-end closure: simple to open and reclose
The tuck-end closure uses a flap that is folded and inserted inside the carton, usually together with two side flaps that complete the closure. It is a common solution in cosmetic, pharmaceutical and food packaging: it lets you open and reclose the pack without having to glue the flap each time.
This does not mean the whole carton is glue-free: the body may already be joined along a side seam during production. When both ends have a tuck-end closure, the main flaps can sit on the same side or on opposite sides — respectively, matching or alternating flaps. The layout affects the carton’s blank and should be chosen in relation to the artwork and the packing.
The tuck-end closure is useful when simple access to the contents is needed, even repeatedly over time. Its hold depends on the geometry of the flaps, the tolerances and the cartonboard used.
Snap-lock bottom: a base formed during assembly
In the snap-lock bottom the lower flaps are folded in a precise sequence and locked together through their shape. The base is therefore formed while assembling the carton, without applying glue to the bottom at that moment. Here too, the body of the pack may have a side seam already made.
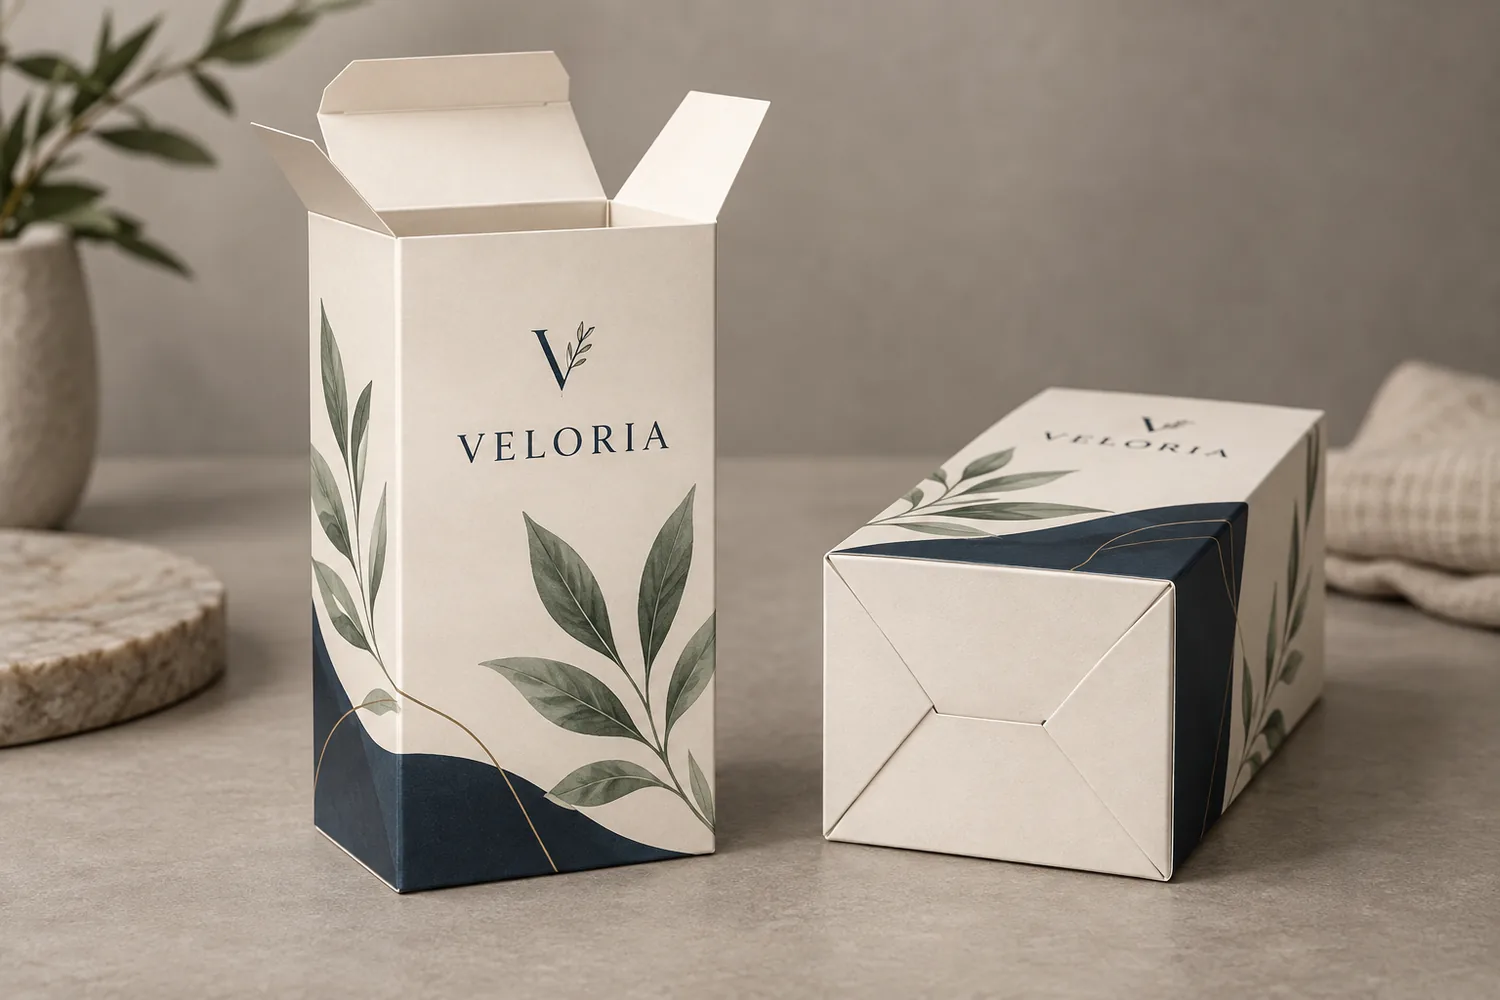
It is a solution to consider when assembly operations are compatible with the planned packing times: its convenience depends on the structure, the quantities and how the work is organised. The ability to support the product must be checked on the actual project — a well-sized snap-lock bottom has to be assessed together with the material and the weight distribution.
Crash-lock bottom: quick to set up
The crash-lock bottom is made of shaped panels pre-glued during production. When the body of the carton is opened and squared up, these panels fall into place, forming the base.
The advantage is fewer assembly operations: there is no need to fold each lower flap individually before inserting the product. The top closure remains a separate step. This feature can be useful in manual, semi-automatic or automatic packing, provided the structure is compatible with the intended process.
The term “automatic” therefore describes how the bottom behaves as the carton is opened. Its suitability for a given line must be verified considering the machine, the format and how the contents are loaded. Strength, too, requires a specific assessment: dimensions, cartonboard and gluing must be adequate for the load.
Lidded solutions: access and presentation
Lidded packs can have a top connected to the base by a fold, or a separate lid that fits over the bottom. These solutions allow a wide opening and can make presenting or removing the product easier: they are used, for example, in gift packs, assortments and packaging with internal inserts.
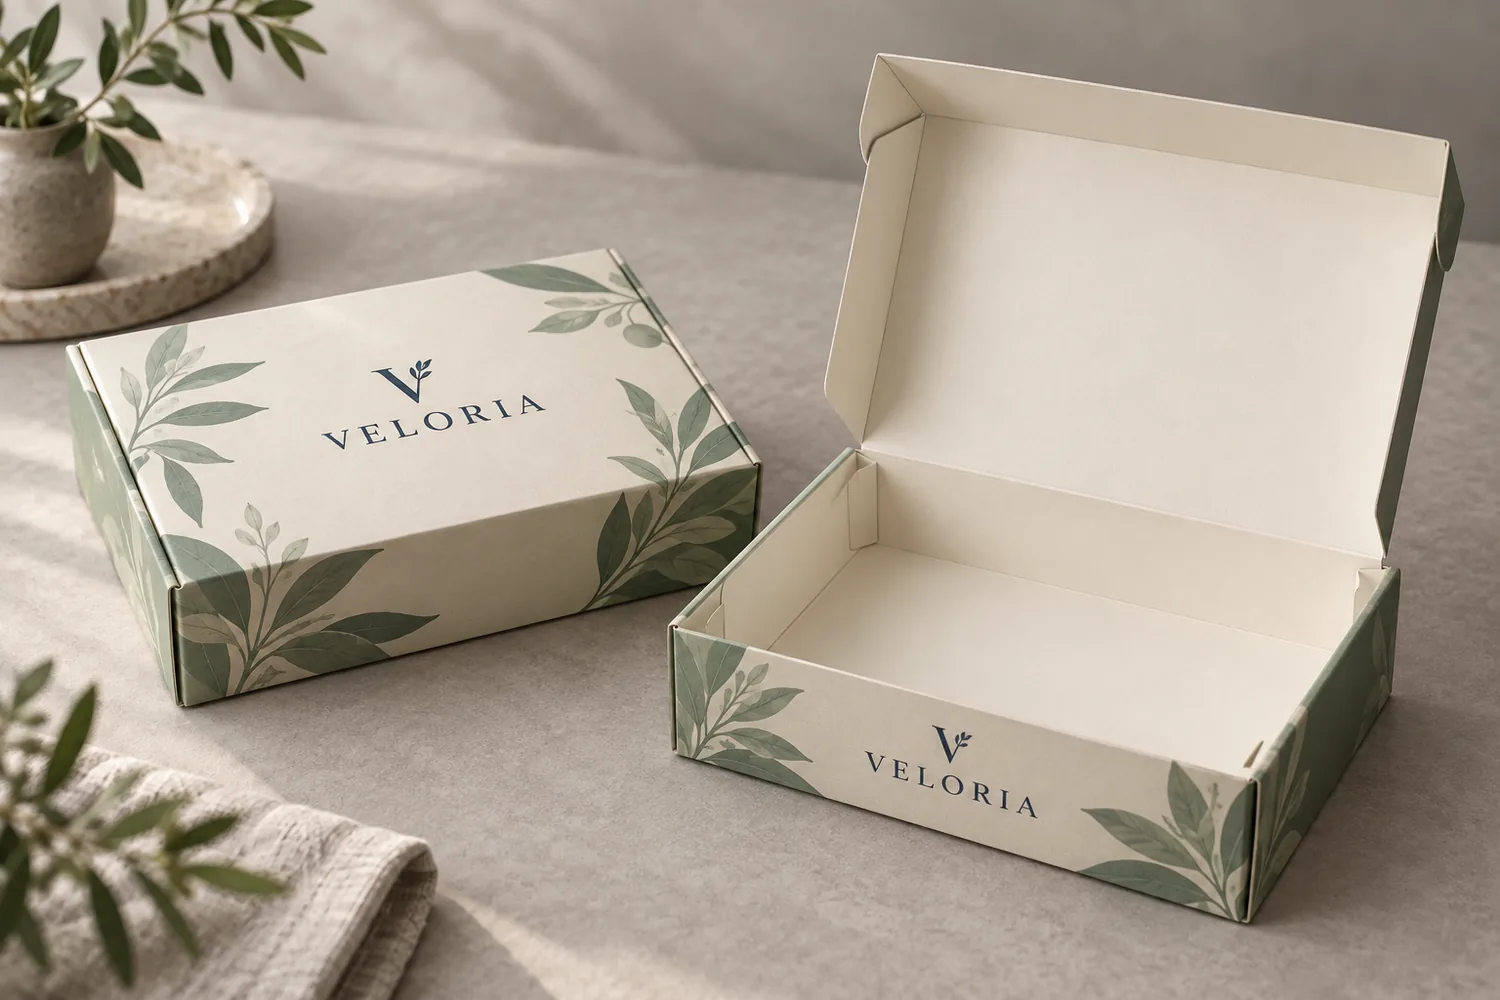
It is important, though, to distinguish folding cartonboard structures from rigid boxes: they may look similar, but materials, production and delivery are different. A lid alone does not determine how premium a pack feels: the opening experience depends on the combination of structure, proportions, materials and finishes.
How to choose the right structure
The right question is not which carton is “the best”, but what has to happen to that carton before and after printing.
Start from the product
Size, weight, shape and fragility of the contents are the first data to define. The carton must hold the product with enough clearance to insert and remove it, while limiting unwanted movement; where needed, an insert can keep it in place or separate it from other elements. For heavy or delicate products, the assessment must cover the whole pack: bottom, walls, gluing and internal protection.
Consider the packing
In manual assembly, the number of gestures needed to form, fill and close the carton affects working times. On an automatic line, the loading direction, the carton-opening system and the type of closure handled by the machine also matter. The structure should therefore be agreed with whoever will do the packing: the most efficient solution is the one compatible with the real process, verified on the intended format and product.
Think about use after purchase
Will the pack be opened once, or reclosed several times? Does the product need to be taken out from the top, from one end, or through a wide opening? These questions help choose the closure and identify any extra needs, such as ease of grip or features that make first opening recognisable.
Compare the overall cost
The cost of a carton depends on cartonboard consumption, die, printing, finishes, gluing and quantities. Assembly time and transport and storage needs must also be considered: a structure that is more elaborate to produce can reduce operations during packing, and the comparison has to account for both stages.
From the blank to the prototype
Before finalising the artwork, the carton’s structural development must be defined and checked: panels, flaps, cuts, creases and gluing areas. Text, images and finishes are positioned on this blank, taking into account the folds and the parts that will stay hidden once the pack is assembled.
A physical prototype lets you check the structure with the real product: insertion, bottom hold, opening, reclosing and stability. To assess how folds and closures behave, it is important to use a material representative of the intended one. If packing will run on an automatic line, prototype checks should be followed by the necessary trials on the machine, so that changes can be defined before starting the run.
Planning a new carton? On the Packaging & cartotecnica page you can see how Grafica Nappa works on die-cutting, creasing and gluing. To assess the structure, materials and prototypes of your project, get in touch.